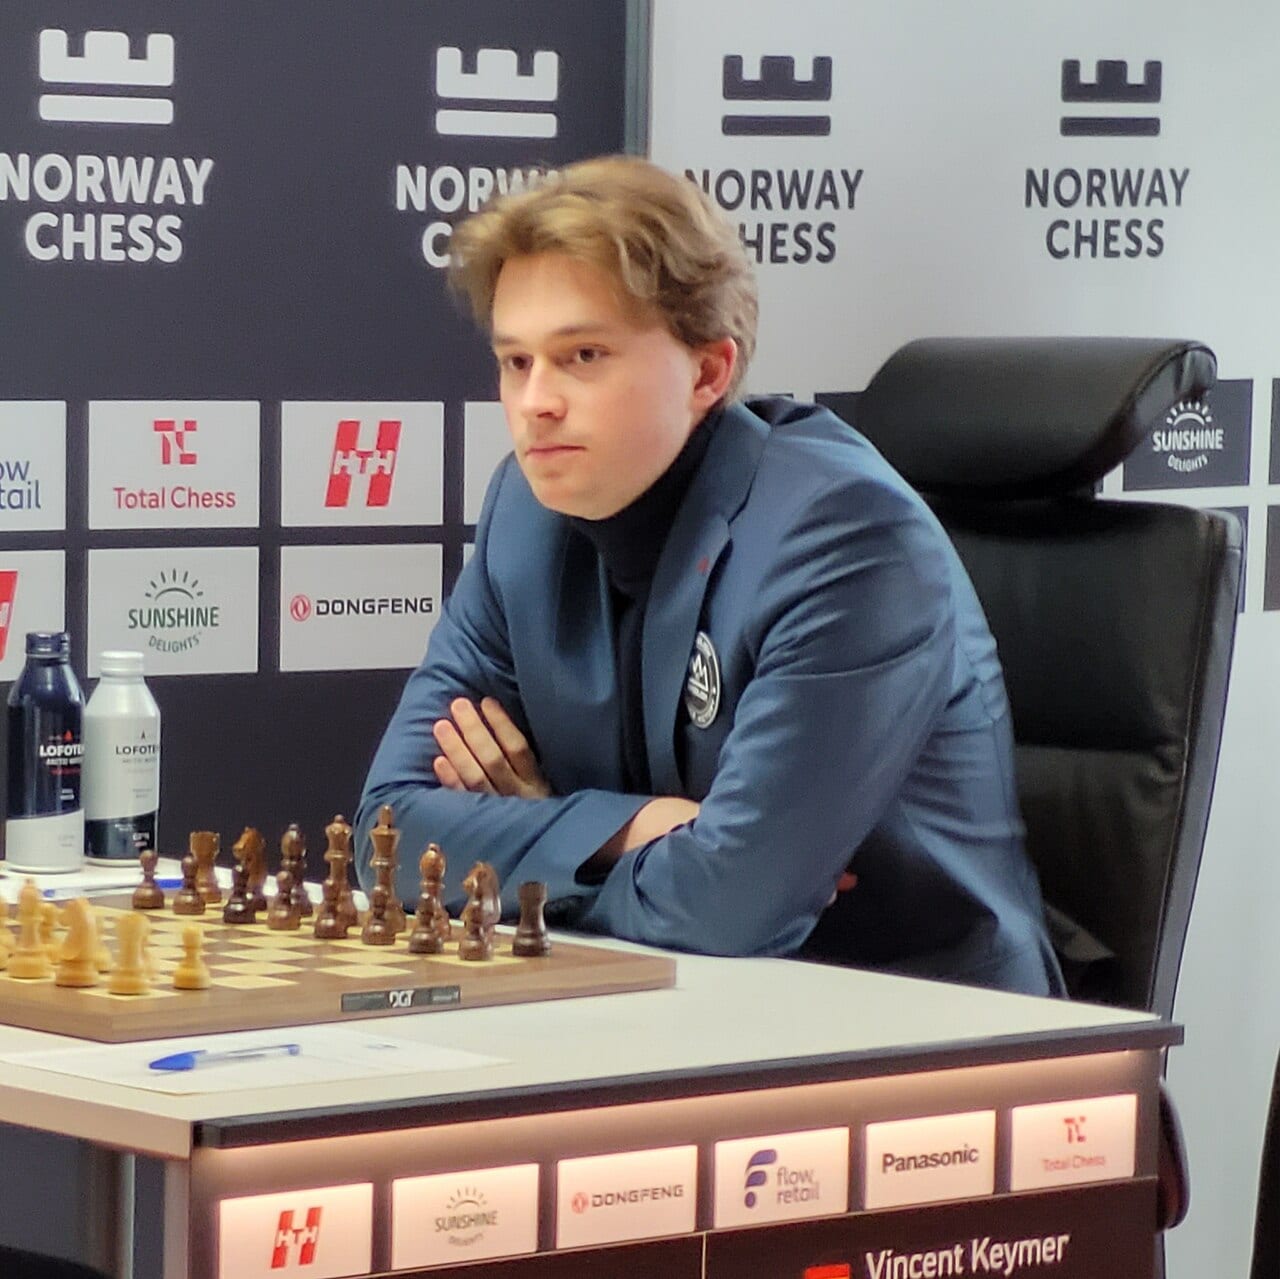
Photo: Ahmed0112 / Wikimedia Commons (CC0)
Look at the white rook on c4. To its left, on a4, is a black bishop. To its right, on d4, is the other black bishop. Neither bishop has a defender. The rook is attacking both of them, and Black can only move one.


 6
6
 5
5 4
4
 2
2 e
e f
fPosition after 23.Rc4, with Black to move. The rook attacks the bishops on a4 and d4, and neither is protected.
A rook attacking two pieces at once is a fork, just like the famous knight forks. Anish Giri resigned here.
Vincent Keymer 1-0 Anish Giri Tata Steel Chess Masters 2026, Wijk aan Zee · Round 1 White: Vincent Keymer (2776) · Black: Anish Giri (2760)
Queens off early
The game began as a Queen's Gambit Accepted, and the queens were traded on move 9.
1.d4 d5 2.c4 dxc4 3.Nf3 Nf6 4.e3 e6 5.Bxc4 c5 6.O-O a6 7.Re1 Nc6 8.Nc3 Be7 9.dxc5 Qxd1 10.Rxd1 Bxc5
8621acdgPosition after 10...Bxc5, with White to move. The queens are gone. Both sides have the same pieces and the same number of pawns.
A game without queens is often calm, and this one was for a long time. Our own Stockfish 17.1 run, at depth 20, never gave either side more than about four tenths of a pawn over the next ten moves.
11.Nd2 O-O 12.Nb3 Ba7 13.Be2 Rd8 14.Bd2 Bd7 15.Be1 Be8 16.Kf1 Rac8 17.Rxd8 Rxd8 18.Rc1 h6 19.Na4 Nd4 20.exd4 Bxa4
Black's knight jumped to d4. White took it with the pawn, and Black's bishop took the knight on a4. Two knights left the board, one for each side.
7642cefPosition after 20...Bxa4, with White to move. Material is level. Black's two bishops sit on a7 and a4.
The engine called this dead level.
Two small slips
21.Rc7 Rb8
The white rook reached the seventh row, attacking the pawn on b7. Black defended it with the rook. The engine preferred 21...Bc6, and after 21...Rb8 it moved to about nine tenths of a pawn for White.
22.Na5
The knight attacked b7 a second time. Black now had to think about both the b7 pawn and the loose bishop on a4.
22...Bxd4
6542efPosition after 22...Bxd4, with White to move. Black has just taken a pawn with the bishop. Neither black bishop is protected now. Can you find White's best move?
Black took a pawn. But now the bishop on d4 had no defender, and neither did the bishop on a4. And the two bishops stood on the same row, with only the square c4 between them.
23.Rc4
That is the position at the top of the article. The rook forks both bishops. Our engine rated White more than three pawns better, because one bishop is lost next move, and Giri resigned.
After the fork
Could Black have saved anything? Not much. The engine's best try was 23...Bxf2 24.Kxf2 Bb5 25.Rc2. Black gives one bishop for a single pawn, rescues the other bishop on b5, and is still about three pawns worse. The next best, 23...Bxb2 24.Rxa4, also trades a bishop for one pawn and leaves White about three pawns ahead. Every defence costs Black a piece, which is why the game ended here. Giri did not need to see the whole line to know that he was about to be a piece down.
The clocks add one detail. When Giri took the pawn on d4 he had 35 minutes left and Keymer had 83. Plenty of time to check the bishops, in other words. The slip came with a full clock, in a calm position, which is when it is easiest to miss.
What this game teaches
1. Rooks fork too. Any piece that attacks two enemy pieces at once makes a fork. Rooks do it along rows and files.
2. Loose pieces drop off. A piece with no defender is called a loose piece. Two loose pieces on the same line is an invitation for a fork.
3. Before taking a pawn, check what is left unprotected. 22...Bxd4 won a pawn, but it put a second undefended bishop on the fourth row. The engine's choice was 22...Nd5.
4. Calm positions still need care. For twenty moves this queenless game was level. It took two small slips to lose it.